Introduction to the Problem
A dripping bathtub faucet is a common issue faced by homeowners, yet it is often underestimated in terms of its implications. This problem can arise from various causes, such as worn-out washers, corroded valve seats, or simply improper installation. Each of these factors contributes to the water leak, which manifests as a steady drip from the faucet. Although this might seem like a minor inconvenience, the repercussions of ignoring a dripping faucet can be significant.
One of the most pressing concerns regarding a dripping bathtub faucet is the wastage of water. Even a slow drip can lead to substantial water loss over time; statistics suggest that one drop per second can equal approximately 3,000 gallons of water wasted yearly. This excessive water usage not only has a negative impact on the environment but also translates into elevated water bills for homeowners. Addressing the problem promptly can thus lead to both cost savings and better water conservation practices.
Additionally, a dripping faucet can potentially lead to more serious plumbing issues if not handled in a timely manner. Continuous dripping can lead to increased pressure within the plumbing system, which may result in pipe corrosion or damage. Over time, this can escalate into more severe leaks and flooding, leading to costly repairs and an unhappy homeowner. Therefore, recognizing the significance of a dripping bathtub faucet is essential. It is critical to address such issues without delay to not only conserve water and lower expenses but also to protect the integrity of the plumbing system.
Tools and Materials Needed
To effectively address a dripping bathtub faucet, it is essential to gather the proper tools and materials before beginning the repair process. The right selection ensures that the task is conducted smoothly and efficiently, minimizing the risk of additional damage or complications.
Firstly, an adjustable wrench is a fundamental tool; it is used to grip and turn nuts and bolts of various sizes. This versatility allows for precise adjustments, which is crucial when working with different faucet models. A set of screwdrivers, preferably both flathead and Phillips, is also necessary for removing covers and screws securing the faucet components. Additionally, pliers can be helpful for gripping small parts and securely turning elements that may be difficult to handle by hand.
In terms of materials, replacement washers are vital. These rubber components can wear out over time, leading to leaks. It is advisable to have an assortment of washers in different sizes to ensure compatibility with your faucet. Similarly, O-rings can be found in various dimensions and are critical for sealing connections within the faucet assembly. These seals prevent water from escaping and are often the cause of leaks when they become brittle or damaged.
Furthermore, having a plumber’s tape on hand can prove beneficial. This tape helps to create a watertight seal on threaded connections, which can prevent future leaks. Depending on the repair required, you may also want to have a basin wrench and a bucket ready. The basin wrench is specially designed to reach tight spaces behind the faucet for loosening or tightening nuts, while the bucket is essential for catching any residual water that may escape during the repair.
In summary, preparing for a faucet repair with the appropriate tools and materials not only streamlines the process but also enhances the chances of a successful fix. The careful selection of these components can ultimately lead to a more efficient and lasting solution to a dripping bathtub faucet.
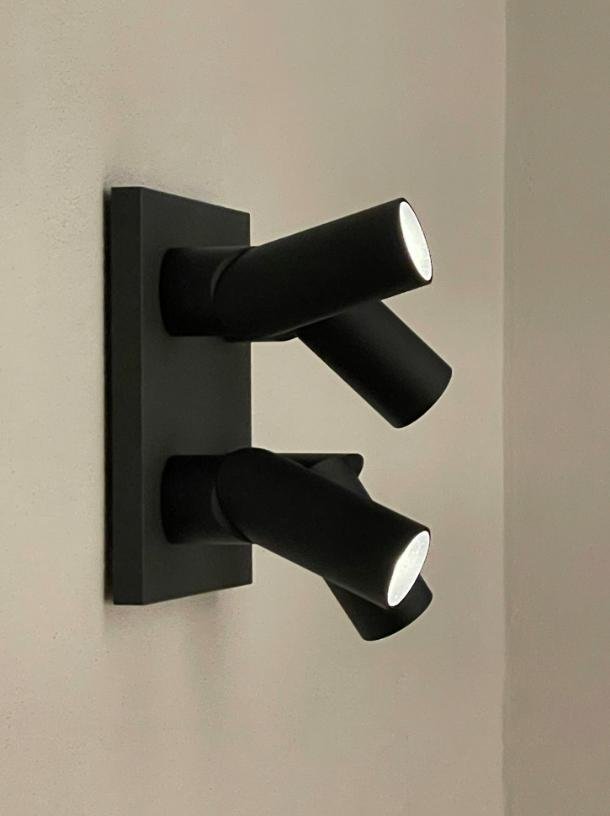
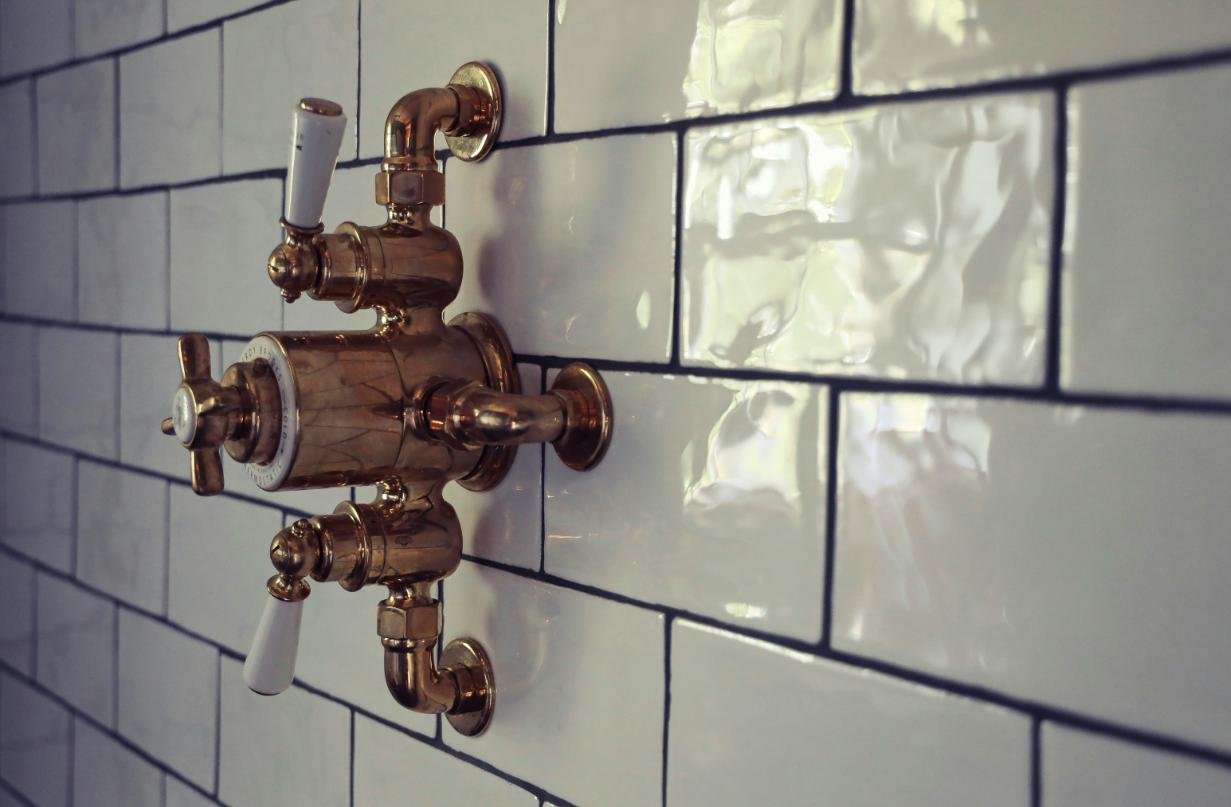
Identifying the Type of Faucet
To effectively stop a dripping bathtub faucet, it is essential first to identify the type of faucet installed in your bathroom. There are four primary types of faucets: compression, cartridge, ball, and ceramic disc. Each type operates differently, and knowing which one you have will guide you in the repair process.
Compression faucets are the oldest design, usually featuring two handles—one for hot water and one for cold. When inspecting this type, look for noticeable handles that turn infinitely until they stop. These faucets typically require washers that can wear out, leading to leaks.
Cartridge faucets, on the other hand, are more contemporary and often have one or two handles. They are recognized by their cylindrical cartridge located beneath the handle. If you can remove the handle and see a cartridge inside, then you have this type. Unlike compression faucets, cartridge faucets do not rely on washers, which makes them less prone to drips.
Ball faucets are distinguished by their single handle that moves over a rounded ball mechanism. These faucets can be identified by the smooth, fluid motion of the handle and are generally found in modern homes. When inspecting a ball faucet, look for a large cap on top that can be unscrewed to reveal the inner workings.
Lastly, ceramic disc faucets combine technology with durability, featuring a single or double handle that controls water flow using two ceramic discs. This type can be identified by the smooth motion of the handle and typically has a thicker body. Checking for a shiny, flat surface on the faucet can be a good visual cue. Understanding these characteristics will not only help in identifying your faucet type but will also facilitate the necessary repairs and replacements.
Turning Off the Water Supply
Before initiating any repairs on a dripping bathtub faucet, it is crucial to turn off the water supply to prevent any potential flooding or water wastage. The process begins with locating the shut-off valves, which are typically situated near the bathtub or within the plumbing system. For most bathtub faucets, there are usually two valves—one for hot water and another for cold water. These valves can often be found in the bathroom, behind access panels in walls, or in the basement or crawl space, depending on the plumbing layout of your home.
After locating the shut-off valves, the next step is to shut them off. Turn the valves clockwise until they can no longer move. It is advisable to make a note of which valve controls hot water and which one controls cold water to avoid confusion during the repair process. For some homes, especially older ones, valves may be rusted or difficult to turn. In such cases, applying some penetrating oil may help loosen them.
Once the valves are turned off, it is important to check whether the water supply has indeed been cut. To do this, turn on the bathtub faucet to see if any water flows out. If water continues to drip or flow, it might indicate that the valve is faulty or that there is another source supplying water. If the faucet does not run at all, you can be assured that the supply is fully off. Taking these precautionary steps will not only safeguard against unexpected leaks during your faucet repair but also establish a solid foundation for a successful fix. This meticulous approach can save you from unnecessary hassles and ensure a smoother repair process.
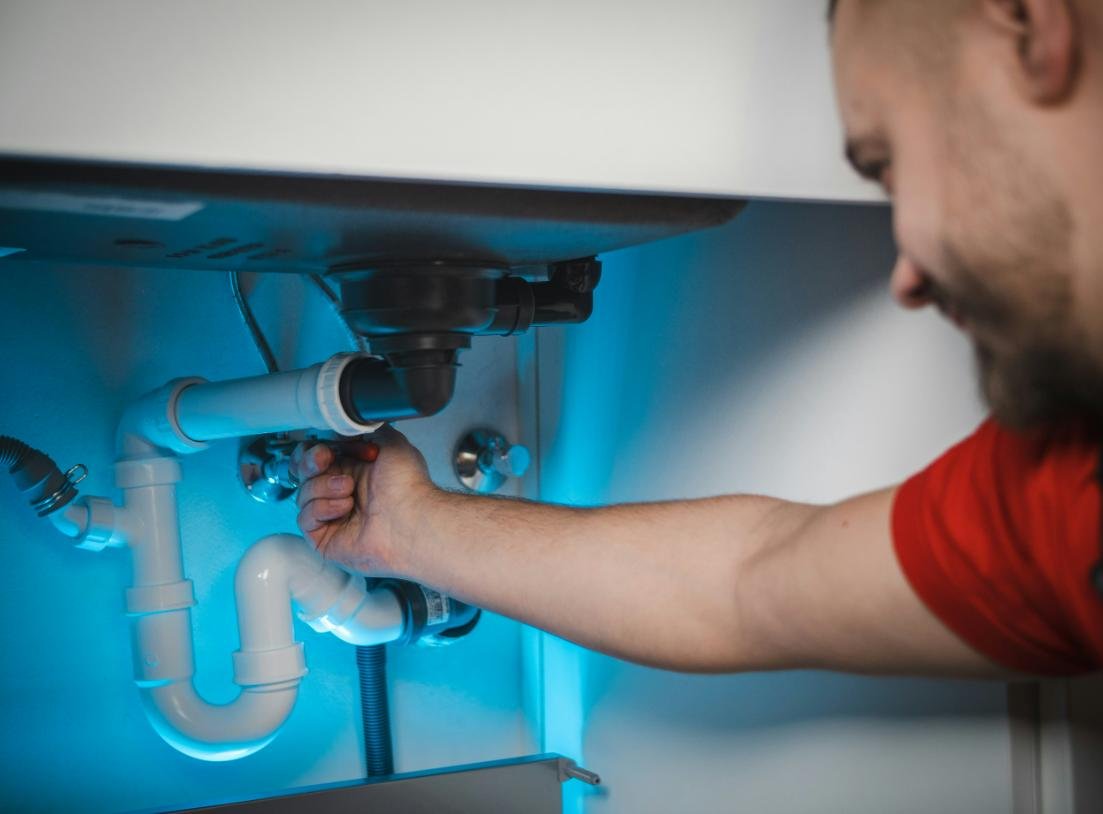
Disassembling the Faucet
Disassembling a bathtub faucet is a critical step in addressing any leaks or problems. Before beginning, ensure you have the necessary tools at hand, including an adjustable wrench, screwdriver, and a cloth or towel. Always turn off the water supply to the faucet before initiating the disassembly process. This will prevent water from flowing inadvertently and causing a mess.
Start your disassembly process by removing the faucet handle. Generally, you will find a screw that secures the handle in place, either exposed at the top or hidden under a decorative cap. If the screw is concealed, gently pry off the cap with a flathead screwdriver to avoid scratches. Once the screw is removed, lift the handle off carefully, taking care to note how it was positioned.
Next, you will need to take apart the trim that surrounds the faucet. Loosen any screws or fasteners that secure this trim into place. It is advisable to use a cloth to protect the surface of your bathtub from scratches during this step. With the trim removed, you should be able to access internal components such as the cartridge or valve.
As you work through the disassembly, be mindful of how each part comes apart. It is beneficial to keep a small container or labeled bags to store screws and small components, thereby avoiding misplacement. Documenting the order in which parts are disassembled can also be advantageous when it comes time to reassemble the faucet. Taking pictures or drawing diagrams of parts can serve as reliable references.
Finally, inspect each part for any signs of wear or damage which might be contributing to the dripping issue. If there are any worn washers or seals, these will need replacement. Properly handling and tracking each component during the disassembly makes future repairs more manageable and helps prevent issues during reassembly. Following these steps will ensure a smoother and more efficient repair process for your dripping bathtub faucet.
Inspecting and Replacing Components
When addressing a dripping bathtub faucet, a thorough inspection of its various components is essential to identify signs of wear or damage that may be causing the leakage. The primary elements to examine include washers, O-rings, and valve seats. Each part plays a critical role in maintaining a watertight seal, and any deterioration can lead to drips or leaks.
Start by turning off the water supply to the faucet to prevent any further dripping during your inspection. Once the water is turned off, remove the faucet handle, typically done by unscrewing a small screw or gently prying it off with a flathead screwdriver. After removing the handle, you will have access to the internal components where wear can commonly occur.
Inspect the washer first, which is usually located at the base of the faucet. A damaged washer may appear cracked, hard, or eroded. If you notice any of these signs, it is time to replace it. Similarly, check the O-rings, which are circular seals found around the faucet handle. If these are worn, they may appear frayed or brittle. Replacing old O-rings is crucial for ensuring a tight seal and preventing leakage.
Additionally, examine the valve seat – the surface where the washer presses against the faucet body. A worn or corroded valve seat can lead to persistent drips even if the washer is new. If necessary, clean the valve seat with a fine-grade sandpaper or a dedicated cleaning tool to ensure a smooth, flat surface. Should the valve seat be severely damaged, it may require replacement as well.
To replace any worn components, simply remove the old parts and carefully install the new ones, ensuring they fit snugly in place. Reassemble the faucet by reattaching the handle and turning the water supply back on to test for any remaining leaks. Regular inspection and replacement of these components will not only remedy a drip but can also extend the lifespan of your bathtub faucet.
Reassembling the Faucet
Once the necessary repairs have been completed, reassembling the bathtub faucet requires careful attention to detail to ensure optimal performance and prevent future leaks. Begin by gathering all components that were removed during the repair process. This typically includes the handle, retaining nut, and any washers or seals that may have been replaced. It’s imperative to have a clean workspace to avoid misplacing any small parts.
Start the reassembly process by positioning the faucet handle back onto its spindle. Ensure that any alignment tabs or notches are correctly positioned. Next, secure the handle by threading the retaining nut back onto the spindle. It’s important to hand-tighten the nut to avoid over-tightening, which can damage the assembly. Once snug, use a wrench to give it a gentle turn, ensuring it is secure, but be careful not to apply excessive force that could compromise the internal components.
Following this, reattach any decorative covers or escutcheons if applicable. Ensure that the rubber washers and O-rings are correctly placed in their designated slots. These seals are crucial for preventing leaks, so double-check their condition; replace them if they show signs of wear or damage. A common mistake during reassembly is overlooking the placement of these seals, which leads to further leaks.
Finally, restore the water supply by turning the shutoff valves back on. Test the faucet by turning it on slowly, checking for any leaks around the handle and body of the faucet. If you notice any dripping, it may be necessary to go back and ensure that all components were properly reassembled and tightened. Properly following these steps will not only ensure the faucet operates effectively but also enhances its longevity.
Testing the Faucet
Once you have completed the necessary repairs to your bathtub faucet, the next crucial step is to test it to ensure that the dripping has ceased and that functionality is restored. Begin by carefully turning the water supply back on. This typically involves locating the shut-off valves under the sink or behind the wall; turning these valves clockwise can restore the water flow to the faucet.
After the water is turned back on, proceed with caution. Open the faucet slowly and fully to observe any initial flow. Listen for any unusual sounds, such as persistent dripping or sputtering. If water flows smoothly without leaks, that is an excellent indication that your repair was successful. However, should you hear a continuous drip still, you may need to revisit the previous steps to identify any components that were overlooked or improperly installed.
While testing, it’s essential to monitor for leaks around the faucet base and any visible parts. Pay attention as well to the water temperature; fluctuating temperatures may suggest issues with the valve or cartridge. If you notice a change in water pressure or if the faucet handle is becoming difficult to turn, these could also indicate deeper plumbing issues that require immediate attention.
Additionally, inspect the caulking around the bathtub and faucet area. A faulty or worn seal can lead to water damage over time and should be addressed to prevent further complications. By observing these signs during testing, you can ensure your faucet operates correctly. After thorough testing and inspection, make necessary repairs to maintain a drip-free and efficiently functioning bathtub faucet.
Preventative Maintenance Tips
Maintaining your bathtub faucet properly can help prevent future dripping issues and prolong its lifespan. Regular inspections are crucial; this involves checking for leaks and identifying any corrosion that may lead to water damage. It is advisable to examine the faucet at least once a month. During this inspection, look for any signs of dripping water, unusual noises, or rust. Early detection of such problems can save you from costly repairs down the line.
Proper cleaning is another essential aspect of preventative maintenance. Use a mild, non-abrasive cleaner to wipe down the faucet and remove any mineral buildup caused by hard water. Regular cleaning will not only maintain the aesthetics of your faucet but also ensure that the components function efficiently. When cleaning, ensure that you avoid any harsh chemicals that can damage the faucet’s finish or gaskets.
Additionally, it is recommended to replace washer and O-ring seals periodically as these components tend to wear out over time. A simple inspection can determine if these parts need replacing. If you notice that the faucet is dripping more frequently despite regular maintenance, it may indicate a deeper issue within the valve or cartridge, necessitating further inspection.
Lastly, knowing when to call a professional plumber is vital. If you encounter persistent dripping despite your maintenance efforts or if you are unsure about performing repairs yourself, seeking professional help is the best course of action. Experts have the experience and tools needed to address underlying problems, ensuring that small issues do not escalate into larger ones. By adhering to these tips, you can maintain your bathtub faucet efficiently and reduce the chances of future dripping complications, thereby conserving water and preventing potential water damage.